Like in many other object-oriented programming languages, interfaces in Go provide an umbrella that gathers together all specific types or objects implementing it. This generalization is helpful and convenient when more than one type can perform the same action (with subtle differences) or when these different types need to be grouped based on their behavior.
However, unlike other languages, Go’s interfaces are satisfied implicitly, that is, there’s no explicit connection between an interface and the types implementing it. A concrete type satisfies an interface (abstract type) just by implementing the method or methods indicated by it. This allows to treat totally unrelated types as the same just by their minimum overlapping features, creating a very decoupled relationship system and cutting down much of the bloated code compared to other languages.
Although car, motorbike and plane don’t share the same methods and the implementation details for the ones they share are different among them, the interface vehicle is the glue that tights them together. As it can be seen, there’s no explicit relationship between each of the concrete types and vehicle, just the implementation of the methods indicated by it.
This decoupling eases the creation of new groups even for already created concrete types:
	type aircraft interface {
		land()
		takeOff()
	}
In this case car, motorbike and airplane can be considered instances of vehicle, but only airplane is an instance of aircraft.
An instance of an interface, or interface value, is composed by two elements: a concrete type and a value of that type. These are known as its dynamic type and dynamic value.
When an interface variable is declared, both dynamic type and dynamic value are set to nil, this is the interface’s zero value.
An interface will be nil if it’s dynamic type is nil and it can be checked using anInterface == nil or anInterface != nil.
A very important thing to note is that calling any method on a nil interface will cause a panic.
And also as important is to pay attention to a gotcha using interfaces: an interface whose dynamic type is a pointer which happens to be nil is not nil. Although it can be easily reasoned about as the interface having its dynamic type being a pointer and its dynamic value being nil, that’s a distinction that can very well slip through.
Let’s see some examples:
	var v vehicle    // v's dynamic type and dynamic value are nil
	v == nil         // true
	v.accelerate()   // panic: runtime error: invalid memory address or nil pointer dereference (interface is nil)
	v = &motorbike{} // v's dynamic type is *motorbike and its dynamic value is an instance of pointer to motorbike
	v.accelerate()   // motorbike's accelerate method is executed
	var c *car       // pointer to car declaration, pointer value is nil as per its zero value
	v = c            //
	v == nil         // false; Although v's dynamic value is nil, its dynamic type is pointer to car
	v.accelerate()   // panic: runtime error: invalid memory address or nil pointer dereference
					 // v's accelerate() method is executed but v.speed is uninitialized
When a variable is assigned to an interface value or declared as one, it only exposes what it can do through the interface’s methods:
	var v vehicle   // v's dynamic type and dynamic value are nil
	v = &airplane{} // v's dynamic type is *airplane and its dynamic value is an instance of pointer to airplane
	v.takeOff()     // v.takeOff undefined (type vehicle has no field or method takeOff)
To be able to extract all the range of potential methods a type assertion needs to be performed to such interface value.
A type assertion is expressed like i.(T) where i is an interface value and T is the asserted type, that is, the type to be obtained and which the dynamic type of i is compared against.
	var v vehicle           // v's dynamic type and dynamic value are nil
	v = &airplane{}         // v's dynamic type is *airplane and its dynamic value is an instance of pointer to airplane
	a, ok := v.(&airplane)  // type assertion from vehicle to airplane
	a.takeOff()             // now a.takeOff() is safely ran
When running a type assertion there are two options, either the asserted type is a concrete type (airplane like in the example above) or it is an abstract type (interface, like for example aircraft). In any case, if the interface value the assertion is applied to is nil the operation panics.
In the first case, the type assertion checks if T is exactly the same type as i’s dynamic type. If types match, the type assertion extracts i’s dynamic value. Alternatively, if types don’t match the type assertion fails, and panics unless a second variable is used to contain operation’s success or failure status:
	var v vehicle           // v's dynamic type and dynamic value are nil
	v = &car{}              // v's dynamic type is *car and its dynamic value is an instance of pointer to car
	a := v.(*airplane)      // panic: interface conversion: vehicle is *car, not *airplane
	a, ok := v.(*airplane)  // a is v's zero value and ok is false; doesn't cause a panic
In the second case, where T is an abstract or interface type, the type assertion checks whether i’s dynamic type satisfies T. The result of a successful assertion is like an interface casting where assertion’s target keeps the same but the resulting variable satisfies T:
	var v vehicle           // v's dynamic type and dynamic value are nil
	v = &airplane{}         // v's dynamic type is *airplane and its dynamic value is an instance of pointer to airplane
	v.land()                // v.land undefined (type vehicle has no field or method land)
	a, ok := v.(aircraft)   // a's dynamic type is *airplane and a's dynamic value is v's dynamic value
	a.land()                // now a.land() is safely ran
Comparing Interfaces
Interface values are comparable, that is, they can be applied the equality operators == and !=.
For example:
	var x interface{} = 3    // x's dynamic type is int and dynamic value is immediate value 3
	x == 3                   // true
However, there’s a dangerous hidden pitfall when interfaces hold non-comparable types, like slices for instance.
From the docs:
Interface values are comparable. Two interface values are equal if they have identical dynamic types and equal dynamic values or if both have value nil.
A comparison of two interface values with identical dynamic types causes a run-time panic if values of that type are not comparable. This behavior applies not only to direct interface value comparisons but also when comparing arrays of interface values or structs with interface-valued fields.
Let’s see a code example of the above:
	var slice1 interface{} = []int{1, 2}                   // dynamic type is slice of int (not comparable)
	var slice2 interface{} = []int{1, 2}                   //
	slice1 == slice2                                       // panic: runtime error: comparing uncomparable type []int

	var arrayOfSlice1 interface{} = [1][]int{[]int{1, 2}}  // dynamic type is array[1] of slice of int
	var arrayOfSlice2 interface{} = [1][]int{[]int{1, 2}}  //
	arrayOfSlice1 == arrayOfSlice2                         // panic: runtime error: comparing uncomparable type [1][]int


	type structWithSliceField struct {
		myInterface interface{}
	}

	var struct1 interface{} = structWithSliceField{myInterface: []int{1, 2, 3}}
	var struct2 interface{} = structWithSliceField{myInterface: []int{1, 2, 3}}
	struct1 == struct2                  // panic: runtime error: comparing uncomparable type []int
So not only non-comparable types, but other constructs containing them that otherwise are comparable are subject to this pitfall.
When comparing two interface values extra attention must be put to avoid sneaky runtime panics.
Type switches
Interfaces can be used to to treat different types in a uniform way based on their behavior, but there’s a construct in Go that also facilitates the execution of specific code based on interfaces, the type switch.
Like ad-hoc polymorphism, referred to as method or/and operator overloading in other object-oriented programming languages, the type switch executes, for a uniform call, a specific branch of code based on the type of the argument.
For instance, the following function returns a string based on the dynamic type of v:
	func entity(v vehicle) string {
		switch v := v.(type) {
		case nil:
			return "I'm nothing"
		case *car:
			return "I'm a car"
		case *motorbike:
			return "I'm a motorbike"
		case *airplane:
			return "I'm an airplane"
		default:
			return fmt.Sprintf("I'm  an instance of %T", v)
		}
	}
Although entity() accepts a vehicle as argument, only the code relevant to the vehicle’s specific dynamic type gets executed.
It is said in Go terms then that types members of the switch form a discriminated union.
The expression switch v := v.(type) can be simplified to switch v.(type) if v is not needed in any of the switch cases. If using the former, it is common to use the same variable name as the argument shadowing the interface with it’s dynamic type for any given branch.
As cases can contain other interfaces, it is important to pay extra attention to the order of cases. If two or more types are to be grouped in a case, the type of v within the branch is v’s original type, in such case there’s no value extraction.
Function entity() at work looks like below:
	var v vehicle           //
	fmt.Println(entity(v))  // I'm nothing
	v = &car{}              //
	fmt.Println(entity(v))  // I'm a car
	v = &motorbike{}        //
	fmt.Println(entity(v))  // I'm a motorbike
	v = &airplane{}         //
	fmt.Println(entity(v))  // I'm an airplane
Arrays in Go, as in many other programming languages, are a group of consecutive elements that are accessed through their index using the conventional subscript notation.
All elements must be of the same type, for example an array of strings can only store string elements, and, if the type of an array’s elements is comparable, then the array is comparable too.
Arrays are declared as follows:
var numbers [10]int
By default, new array elements are initialized with the zero value for their type.
They can be initialized using the literal syntax:
This expression can be shortened with the use of an ellipsis. When using an ellipsis ... instead of length, the length gets determined by the array literal’s number of initializers:
Using this mode of initialization, index and value pairs can be specified in any order and non-explicit indices are set to the zero value. Another consideration is array length will equal greatest index plus one.
An array’s size needs to be known at compile time.
One interesting thing to note is that size of an array is part of its type, so [10]int and [12]int are different types.
As the size of an array is part of its type, oftentimes they are not useful as multi-element argument for functions as the size is non variable.
By default, arrays are passed by value(copied) to functions, for the sake of performance using a pointer is preferred, especially for large ones.
Slices
Slices are lightweight structures built on top of arrays that allow for variable-length collections of elements with the same type. A common description is they consist of a pointer to an array, a length and a capacity.
Both declaration and initialization of slices are almost the same as their array counterparts except no size is specified.
Previous examples as slices look as follows:
If capacity is omitted like in the first line, it is equal to length and thus makes the resulting slice point to all of the underlying array elements. If capacity is specified, the resulting slice points to the first length elements of the array and leaves the rest of spaces for when the slice needs to be grown. Note capacity needs to be greater than length, otherwise Go will suggest to swap them with the message invalid argument: length and capacity swapped and prevent the building process from succeeding.
It is possible as well, to create slices based on a given array:
    // Declare and initialize array of strings
    letters := [...]string{"a", "b", "c", "d", "e"}
    ab := letters[:2]
    cde := letters[2:]
Any arbitrary number of slices can point to elements of the same array, in this case it is said they share the same underlying array.
All slices pointing to elements of the same array share its contents, so when an element is changed through either one of the slices or the array, the rest see that change as well.
In the above example the slicing operator is used to create two slices pointing to elements of the same array.
The slice operator is a convenient tool to express and create slices from subsegments of an array, a pointer to an array or other slices.
The selection logic is inclusive of the beginning and exclusive of the end. Following the example, slice ab points to segment [letters[0]-letters[2]), or what is the same {"a", "b"}. If no index is used on a side of the colon it is substituted by either 0 if it’s the left(beginning) or the length of the array or slice if it’s the right(end). To refer to the full array or slice both indices on the sides of the colon can be omitted. The following expressions are synonyms for the whole array:
    letters[0:]
    letters[:]
    letters[:len(letters)]
Since Go 1.2, the three-index notation can be used as well. It is a mean of setting a maximum capacity manually instead of relying on the underlying array. It looks like a[i : j : k] where i ≤ j ≤ k ≤ cap(a), i represents the index of the first element pointed by the slice(inclusive), j is the last one (exclusive) and k is the last element reachable through the slice(exclusive):
bc := letters[1:3:3]
In this particular example, slice bc has a length of 2 (j - i) and a capacity of 2 (k - i).
Index i can be omitted, in which case it will be zero, it’s default value.
Slices are build up by three components: a pointer to an element of an array, a length and a capacity. The pointer points to the first element of the underlying array reachable by the slice. The first element of a slice is not necessarily the first element of the underlying array. In the example above, slice cde’s first element is "c". The length is the number of elements the slice contains, and the capacity is the number of elements from the beginning of the slice until the end of the underlying array or the third index if using three-index notation.
Unlike arrays, slices are passed by reference to functions, so unless explicitly copied beforehand the called function can modify the elements of the underlying array.
Continuing with the letters example, the slice ab has a length of two and a capacity of five, and the slice cde has both a length of three and a capacity of three.
When creating a slice from another one, slicing further than its length extends the resulting slice. However, trying to slice beyond its capacity causes the program to panic:
    letters := [...]string{"a", "b", "c", "d", "e"}
    ab := letters[:2]
    abcde := ab[:5] // "a", "b", "c", "d", "e"
    panics := cde[:5] // panic: runtime error: slice bounds out of range [:5] with capacity 3
Slice comparisons
Slices are not comparable. One of the reasons for this is slice elements are indirect, that is, the slice does not contain the elements but rather just points to them. This means a slice could potentially contain itself. As it would be inefficient and cumbersome to work around the cases where a slice contains itself it was decided to not allow slice comparisons.
Furthermore, the use of slices as keys for a map would be problematic due to their indirect nature. Map only copies its keys shallowly and require their equality to hold during its whole lifetime, thus making slices a non-valid match.
The only legal slice comparison is against nil, slice == nil.
Slices’ zero value is nil.
A nil slice means it has no underlying array, and its length and capacity equal zero.
Only use len(slice) to check for slice emptiness.
Adding elements to slices
The main advantage of slices over plain arrays is that slices are dynamic, they can grow to fit as many elements as needed.
Adding elements to a slice is done through the built-in function append().
append() adds one, several or even a slice of elements to the end of the slice argument, but, why assign same slice to the result of append()?
Well, that’s because in case it needs to grow the underlying array, append() returns a new pointer to a different array. Before adding the new elements to the slice argument, append() checks if there is enough space in slice’s underlying array to hold such elements. If there is, append() adds said elements to the array and returns the updated slice with the new length. In case the number of elements to be appended exceeds slice’s capacity, or what is the same, slice’s underlying array cannot hold all of them, append() allocates a new array big enough to hold all the elements, copies all slice’s elements to the new underlying array and appends the new ones. append() then returns a new slice which will point to a different underlying array, will have a total length of its previous number of elements plus the new ones and a bigger capacity. This means that in an eventual reallocation, if the result of append() gets ignored or assigned to a new variable, argument slice will remain unchanged. That’s why, as a default action, it is recommendable to always reuse the same variable in order to have a sense of continuity.
Generally speaking, it cannot be known whether an append() call will trigger a reallocation of the underlying array, but the algorithm used by append() to determine slices growth can be found here.
If the new length more than doubles the current capacity, new capacity will match new length. If the old capacity is less than a threshold(in this case 256, although it used to be 1024 in the past) the new capacity will be double the current one. After that point on, it will increase its size a 25% approximately with a correcting factor to grow slower the bigger a slice is.
Some days ago playing Magic The Gathering with some friends an issue arose. Seve, playing with cards that allow the player to go above the initial amount of lives or health points,
went far beyond making difficult to track his health even with two 20 faces dice.
Luckily, at some point we acquired a few ESP32 boards and a couple of peripheral sets for arduino.
The idea was to build a counter so that it could display in a screen both players’ health points removing the hassle of having to keep state with physical means like tokens or dice.
After some tinkering and hardware testing (one of the two screens we had laying around refused to work) and some iterations after, we achieved this result:
LEDs indicate both player selected(who receives the input) and if desired, player’s active turn. On the upper part of the screen is shown who is playing against who, and at the bottom line, health points
left.
To control this rudimentary but useful tool, we initially thought on controlling it by buttons, but they needed another board to be placed and some kind of mold to ease their use so they were not extremely
attractive to work with. In the end we picked up a joystick, it has 2 analogical buttons (axis x and y) and 1 digital button (the click) and only needs 3 cables of data. Win-win. The good thing about
joysticks is even if they only have 2 analog buttons, those can be multiplied as needed. For every axis the micro-controller board makes a reading, which depending on micro-controller’s bit precision can be
up to 1023, 2047, 4095, etc etc. Take in account 0 is the first value so it would be 2 power precision bits, minus 1 (2^n - 1). This is because the axis are actually potentiometers that provide those
readings allowing more or less current to go through them depending on the angle of the joystick lever. If you normalize the readings considering 0 the at-rest position, then you have 3 possible readings
per axis, negative, positive and 0.
When on normal mode, moving up and down (axis y) increases or decreases current player’s health points. Moving left and right switches player selected (change lit LED). When clicking, player’s name
selection is toggled and both x axis and y axis are used to go through the list of preset player names for focused player.
For now the list of player names is static but leveraging ESP32 network capabilities we will add a server to be able to edit dynamically the names from the phone or computer and even maybe get rid of the
joystick and control the counter from them as well.
In short: The plan was to implement XEP-0382 in Gajim.
Gajim is a well-known XMPP client (and used by many people I know), so adding support for it made sense, right?
I was lucky (very lucky) because Philipp Hörist (Gajim developer) attended as well, something decisive to
get things done in a weekend. Thank you, Philipp!
At the beginning I started to look at writing it as a core feature, but Philipp warned me about Gajim going over a transition phase and my changes would not see the light until next release or so.
Following his suggestion, I went for writing it as a plugin.
I must admit, it works with the current UI elements, but I’m not entirely satisfied with the result.
I would like to give some thoughts to the button’s style that displays the content of the message, as well as if it would be possible to add another entry (text input) on top of the one for the message, instead of a floating element on the spoiler icon.
Letting the UI be, let’s take a look at the current parser:
# XEP-0382: Spoiler messagesdefparse_spoiler(self, stanza):
# Hardcoded namespace until nbxmpp implementation xml_lang = LANG
spoiler_hint =None is_spoiler =False spoiler_elements = stanza.getTags(
'spoiler',
namespace='urn:xmpp:spoiler:0',
)
# If there's more than one spoiler element,# pick the one where matches with xml_langif spoiler_elements:
is_spoiler =Trueif len(spoiler_elements) ==1:
spoiler_element = spoiler_elements[0]
else:
spoiler_element = stanza.getTag(
'spoiler',
namespace='urn:xmpp:spoiler:0',
attrs={'xml:lang': xml_lang},
)
if spoiler_element:
spoiler_hint = spoiler_element.getData()
return is_spoiler, spoiler_hint
XEP-0382 allows for more than one <spoiler/> element in a message, using the attribute xml:lang.
The decision made for this one was, if there’s more than one element, pick the hint the user can understand,
using xml_lang (the client’s language). If there is no element with that language, the original hint is not displayed to the user and “Show message” is used instead (the same text as elements without hint).
This is very open for discussion, because I would actually prefer to see the hint in whatever language it is. Be it because I speak more than one language and maybe one of those matches or because I could just translate it in case I would like to.
Other people just find it confusing to display text in a language the application is not being displayed on (which is something easy to agree with), or even feel uncomfortable reading other alphabets that are not the one they know. And being honest, this would be used mainly by people speaking the same language, so this kind of problem should be marginal.
Nevertheless, working on this helped me to think a bit on the feature and if the specification needed changes before moving towards Draft.
I didn’t know much about the project internals, and even though the basic feature is done, there are some things that I will try to include eventually.
For example,
I would have liked to toggle the spoiler on and off instead of revealing it until the chat window is reopened again.
Embedded images do not work (it makes me very sad). It is a separate plugin and I still need to check if it is even possible with the current implementation.
Link formatting. Currently transforming text into a clickable link does not work if it is inside a spoiler.
Popup notifications display the content of the message (they should not)
Currently, Gajim uses a TextView for the conversation window, which makes this kind of tweaks a bit more tedious than they could be if some other solution was used.
But hopefully, we will get there! :)
I will keep improving the plugin and making sure it is maintained, so reach to me to pull my ears if that’s not the case!
The experience
Well, what can I say? Meeting with people you chat (almost) daily many times with and share similar values as yours is always a fantastic feeling.
Surprisingly, there were many locals attending the event, also members of the XMPP Berlin Meetup, so I recommend you to check it out if you are near Berlin.
Xavi and I stayed very close to Rummelsburg station, where one can spot an interesting façade.
I just had to take a picture of it, I don’t usually see buildings that fake they are falling apart :)
We had free food and drinks, a luxury I didn’t expect at all!
It was funny to see painted (and boiled) eggs, because even though I may have painted them as a child at school, it is not something I usually do.
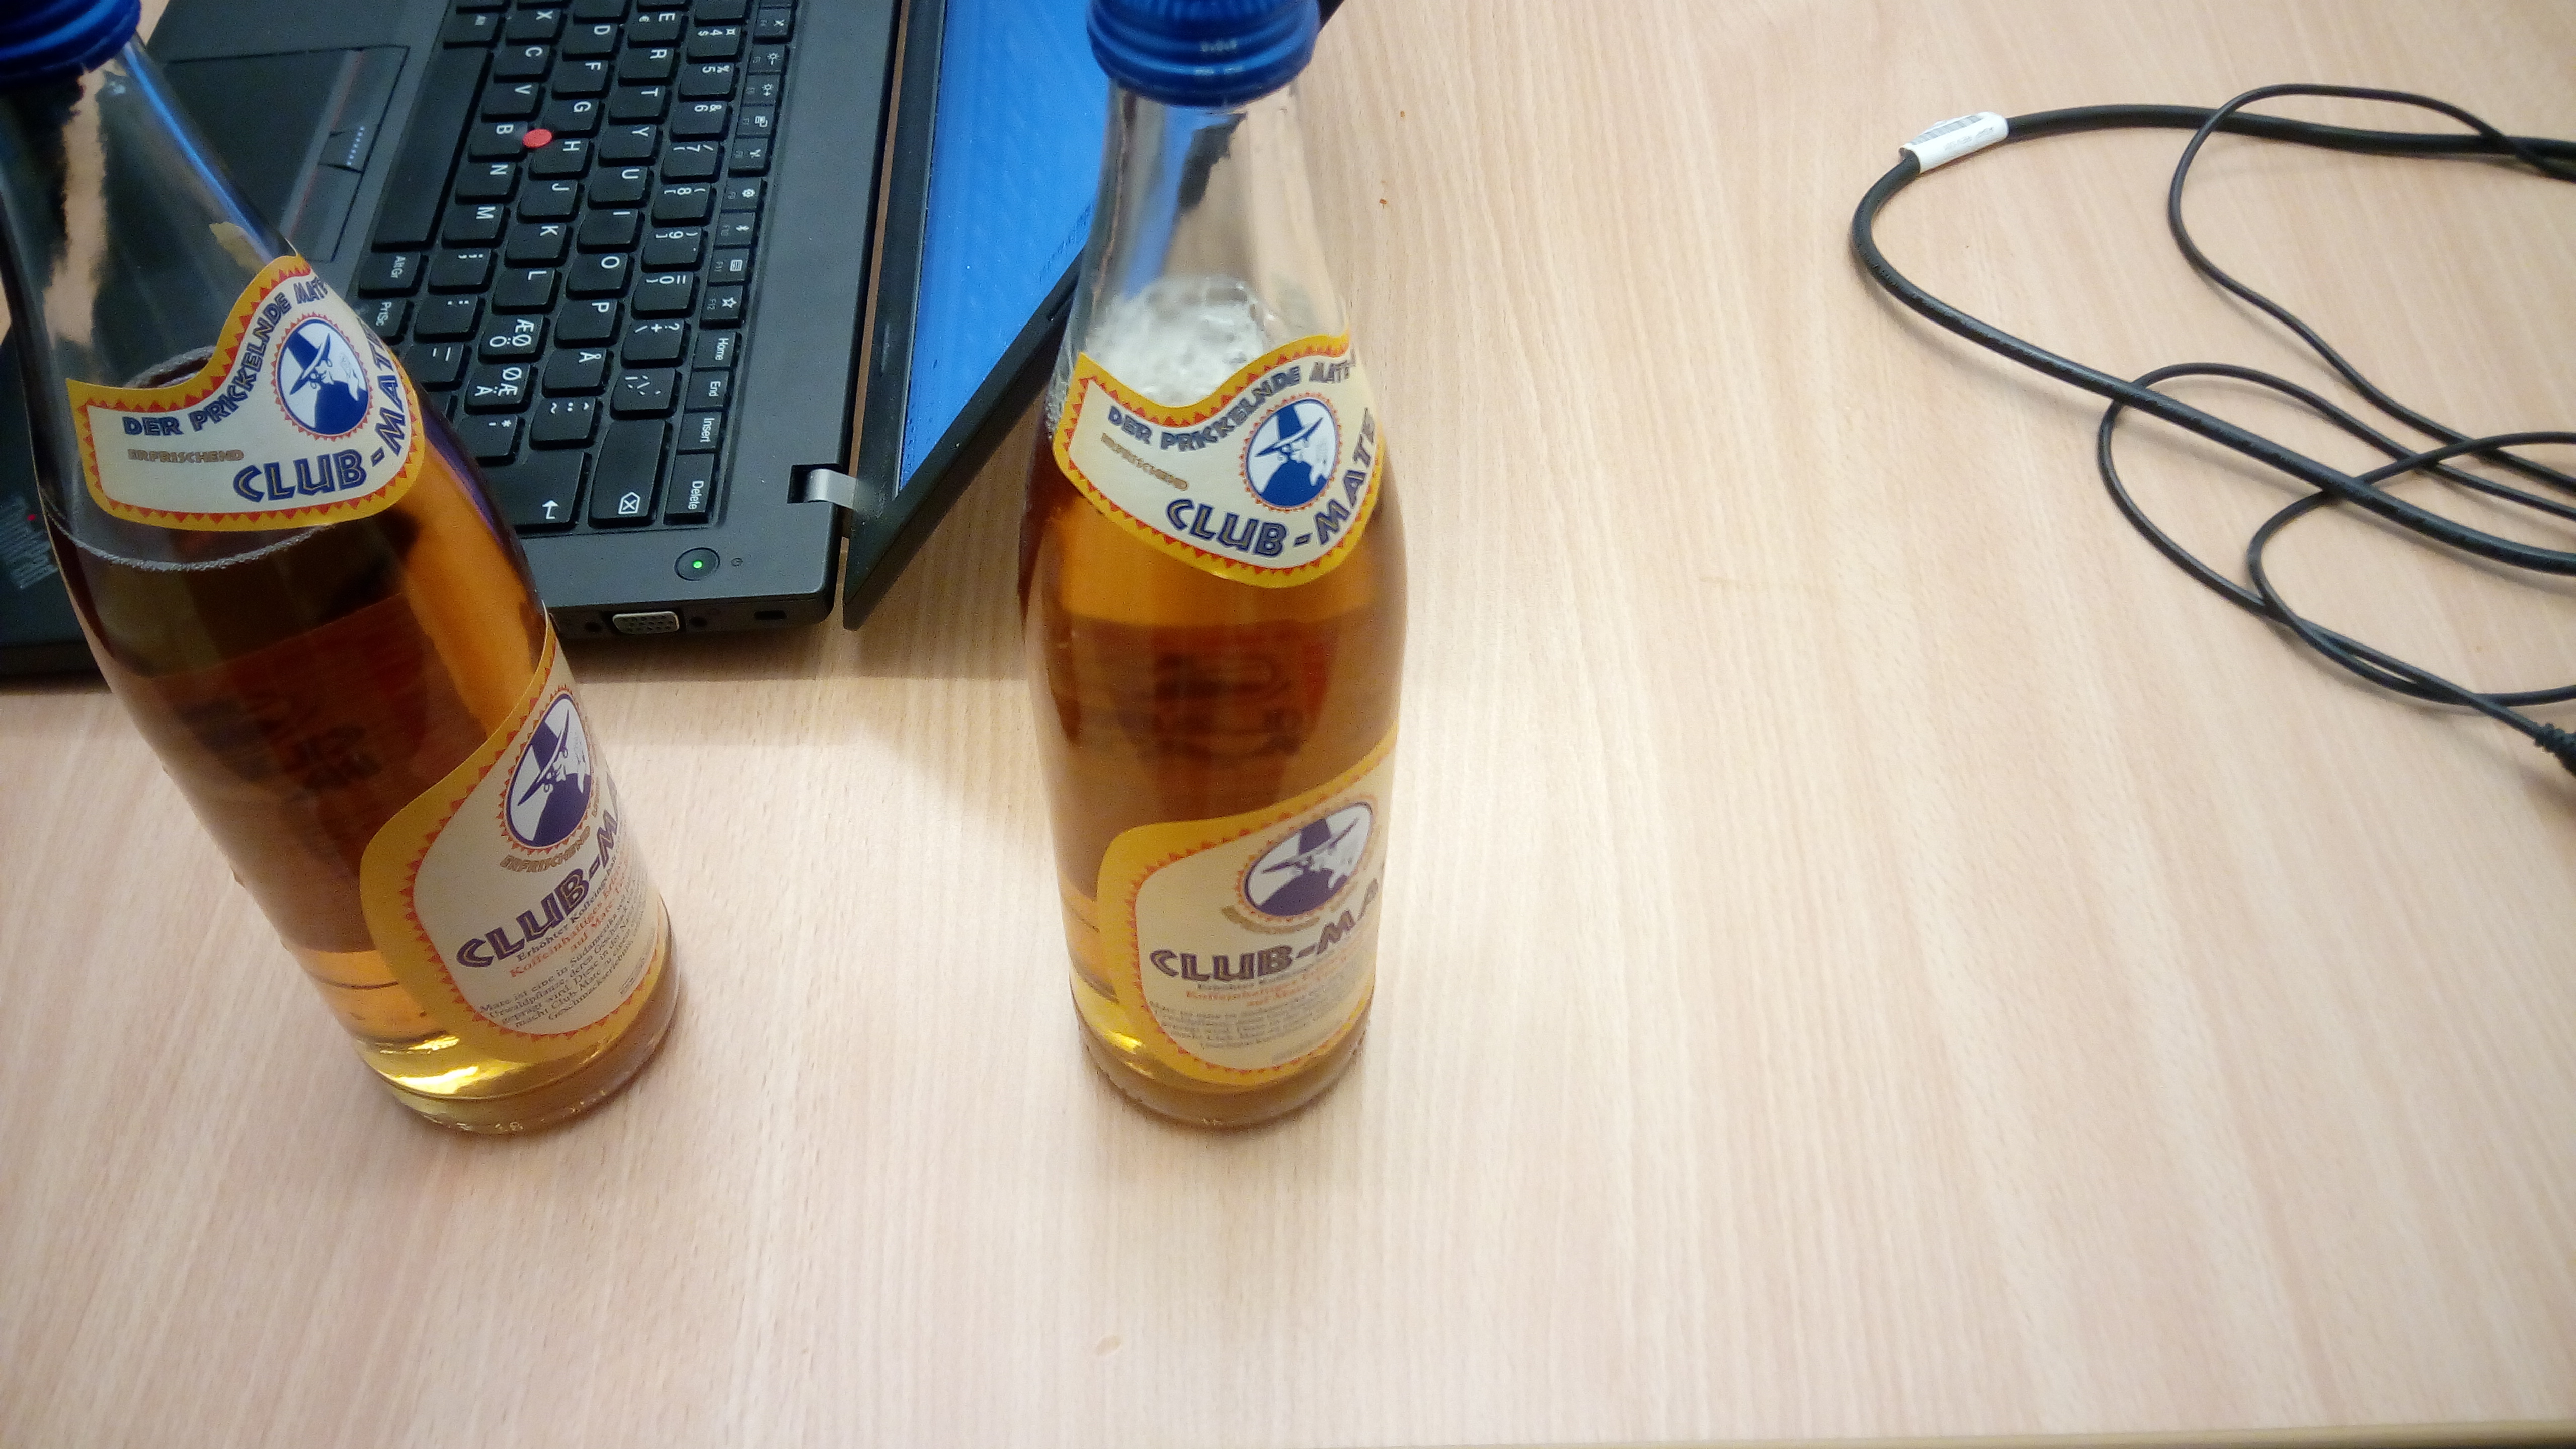
I cannot lie, we had lots of it, and I know now why people choose it for hacking. It sure boosts you up.
I have already looked up where to buy it in Copenhagen!
From an organizational point, the event was a complete success, there was enough space for everybody, we had meetings gathering together to report how things were going on (kind of like stand-ups) and of course we did go out for dinner!
We even got a coffee cup courtesy of DBJR, wishing us a safe trip back home. Couldn’t complain at all.
For the very first time I had the magnific chance to attend an XMPP sprint. It was the first time I visited the beautiful and charming city of Berlin as well so it was a great incentive. However the best experience so far was meeting with so many interesting people focused on improving the ecosystem and helping people to communicate better.
As one of the XEP-0382’s co-authors, the goal on this sprint was to try to implement it on Kaidan so that it can be used and thus we can get some valuable feedback from users, client developers and members of the community in order to improve the XEP in every possible way.
On the objectives part, from here it goes a huge thanks to lnj and jbb for the friendly and fast onboarding on Kaidan, as well as for the guidance and collaboration. Thanks to them it was possible to accomplish the goal within the sprint so I couldn’t be more happy!
The event was a total blast greatly because of Tim, our magnific host that organized the event and took care of everyone, and debacle the ceremony master who took care of the meetings and coordination.
So… last but not least here’s a graphical evidence of the achievement degree on the sprint:
Next steps are to implement support for XEP-0382 in Qxmpp and use the library in Kaidan instead (already in progress)
There are a lot of abandoned cart entries out there from marketing’s perspective, but on this one I’ll also give you an insight on how to develop this kind of feature on your e-commerce.
An abandoned cart is generated when a customer in an e-commerce store adds products to the cart but doesn’t end up buying anything.
In order to help, even persuade, some customers to finally end up buying in this case, there is a widely spread marketing technique: The abandoned cart email.
Let’s put an example:
Alice goes into Unisport, adds a couple of bleeding-edge hi-tech football boots to the cart and starts the checkout process.
At that moment, she receives an important call and leaves the process unfinished.
Luckily enough, after a while she receives an email containing a link to the site letting her know she left some items behind.
Then, she can go to the site again and finally buy her so much desired pair of football boots.
Domain
First of all let’s take a look at the nature of the feature. Based on marketing studies, there are several factors that affect directly emails’ success.
Let’s describe the main ones very briefly:
Abandoned cart definition: This is the amount of time that needs to pass from the last cart modification to consider a cart or basket abandoned.
Time to reach out customer: This is the amount of time after which you want to reach out the customer since last cart modification.
Minimum price of cart: Value total of the items in the cart.
Even though this is not meant to be a marketing lecture, there are some general rules that can work more or less fine out of the box for everyone, and these are:
Try to never reach customers more than a couple of days after the cart was abandoned because they might have forgotten about it all along or they are just not interested anymore.
Try to reach customers at the same hour of last cart edition because odds are that person has a daily routine and is browsing or available for shopping on the same time frame every day.
Avoid reaching out customers for a low total cart value to optimize profitability.
Another crucial aspect to take into account is which checks are needed to be performed before sending out an email for a customer.
Depending on country an explicit consent or subscription
to the service may be needed, it might be it’s fine with a general permission throughout the site, some special condition like having previous purchase history or even the case where no permission or consent is needed at all.
TECH
Some time ago, at Unisport we realized we didn’t have in place a mechanism to call out for those customers who left an abandoned cart behind so we decided to build our own system to manage the process.
Having sites for more than nine countries, modularity is a must. People around the world have different routines, tempos, interests, laws, shopping behaviors etc… So the “one-size-fits-all” approach, can only be taken advantage of to some extent.
So let’s dive right away into the specifics: In our case, the logic is ran as a task in a worker server periodically i.e. as a cronjob.
When thinking about the scheduling of the task, the bigger the frequency, the more times the task runs per day but the less abandoned carts it has to process on each run and the more accurate time to reach customer is.
As seen in the picture above, there’s another factor that comes into play: How long back in time are abandoned carts fetched. This is defined by the period of time the task covers. Let’s see an example:
Let’s say the task is configured to run every two hours and look up for abandoned carts up to two days ago. In this case, for each run there’s a time window of 48 hours updated every two, or what is the same, on every task run the time window rolls forward two hours. So for each task run, the first two hours of the previous run are excluded and two new hours go in instead.
The task is structured in three distinguished main blocks:
Retrieving all abandoned carts
Filtering out the ones not fulfilling all required conditions
Sending out emails to customers hoping to engage them enough as to get them to finish the process they started.
STEP 1 - Retrieving all abandoned carts
In the first step, all the main factors of the feature are used to fetch from the database all the carts that have been $abandoned (see description above), were created $time to reach out customer ago and cost at least $minimum price of cart.
STEP 2 - Filtering out the ones not fulfilling all required conditions
Here, all the checks come into place filtering out all the carts that don’t match current rules.
For each site a batch of carts is evaluated.
Information regarding the checks to perform is loaded dynamically from the configuration.
The results of the execution of each batch are stored as well as the configuration used for that specific run. For every filter applied, there’s a value stored showing the result of applying that filter.
Aditionally, other bits of information like if that batch had a customer voucher assigned to it and its value are collected.
This step is more of a fine-grained tuning of the selection in the previous step, yet essential to be able to adapt to different markets, countries or laws.
STEP 3 - Sending out emails to customers
Finally, once the recipients list is set in stone it’s still needed to push the emails out and let them fly away to their future and welcoming owners.
In this stage all the content of the emails is generated based on the site an the content of the cart of that customer.
It’s utterly important to nail this step; amount of emails sent is huge and you don’t want to send by mistake a wrong email or even more than one per cart. Customer won’t enjoy being flooded!
Monitoring
One of the most important topics to have in mind when developing IT projects is monitoring.
Telling whether a condition is too strict and thus is leaving out a lot of customers who could potentially receive an email is something basic, but really hard to guess without proper monitoring in place.
Keeping track of all the steps and every single factor for each task run, provides with a great deal of information for data-driven decision making.
It is highly recommended to use analytics visualization or monitoring tools like Grafana.
They display effectively the status of tasks among others, in real time and in a very easy to understand way. Who can resist to a flashy and colorful chart?!
So…
This was the overview of the abandoned cart process. As you could see this is a feature that needs to be designed taking your very special needs into account.
You may not need too many filters or you may need many more, for example, if you just run a site you will not need certain logic that we apply here.
If you need to implement abandoned cart emails, keep in mind the three steps and you’ll be relishing the success of this project.
Now, if you ever get one of those, you’ll know all it had to happen before you got the email :-)


 It was funny to see painted (and boiled) eggs, because even though I may have painted them as a child at school, it is not something I usually do.